Updated On: Jun. 02, 2025
Author: Kevin
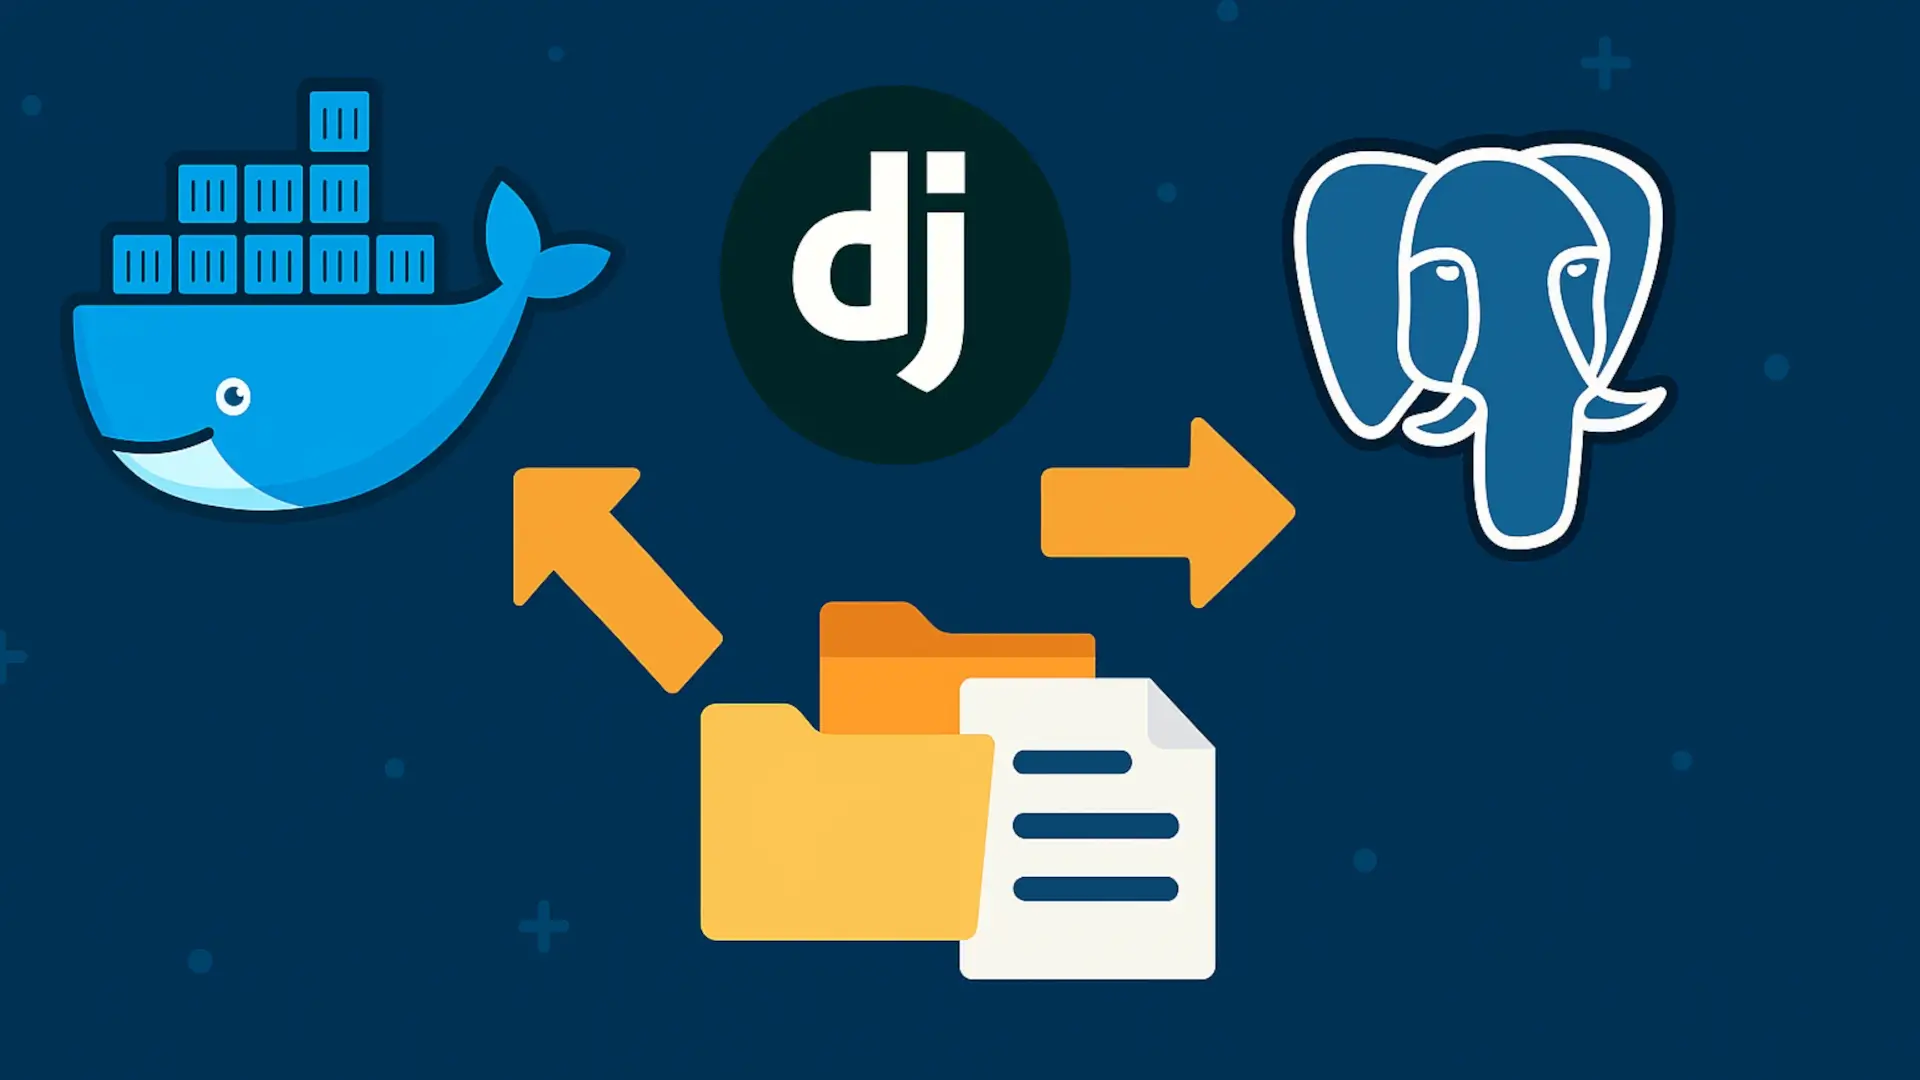
How to Deploy a Django Project to Production Using Docker
This guide walks you through deploying a Django site from a local development environment to a production server using Docker, PostgreSQL, and rsync for media files. It assumes your production stack mirrors your development stack and uses environment-specific .env files for configuration.
🧱 Step 1: Build and Test Your Dev Environment
- Fully configure your local development environment.
- Run all migrations and verify media/static content.
- Create a superuser and populate your site if needed.
📦 Step 2: Export the Database from Dev
# Inside your dev environment
docker compose exec db-dev \
  pg_dump -U devuser -F c -b -v -f /backup.dump dev_db

# Find the container ID of the db-dev container
docker container ls

# Example output:
# CONTAINER ID   IMAGE             ...   NAMES
# a1b2c3d4e5f6   postgres:14-alpine   ...   project-db-dev-1

# Then copy the file using the container ID:
docker cp a1b2c3d4e5f6:/backup.dump ./prod-ready.dump
🚀 Step 3: Set Up Production Server
- Pull your Git repo on the production server.
- Ensure
.env.prodis configured with production credentials:
POSTGRES_USER=produser
POSTGRES_PASSWORD=supersecure
POSTGRES_DB=prod_db
# Start the production stack
docker compose up --build -d
🧼 Optional: Remove Old Production Volumes
If you're doing a fresh install and don't need the previous data, remove any lingering Docker volumes:
docker volume ls

# Remove specific volumes
docker volume rm project_postgres_data
docker volume rm project_media_volume
docker volume rm project_static_volume

# Or prune all unused volumes
docker volume prune
📥 Step 4: Copy and Restore the Database Dump
# Copy from local to production
scp ./prod-ready.dump user@your-production-server:/tmp/prod-ready.dump

# On the production server, get the container ID for the db service
docker container ls

# Then:
docker cp /tmp/prod-ready.dump a1b2c3d4e5f6:/prod-ready.dump

# Create the database if needed
docker compose exec db createdb -U produser prod_db

# Restore the dump
docker compose exec db \
  pg_restore -U produser -d prod_db -v /prod-ready.dump
🖼️ Step 5: Sync Media Files
# On your local machine
rsync -avz ./media/ user@your-production-server:/var/lib/docker/volumes/project_media_volume/_data/
This copies your uploaded files directly into the production media volume.
⚙️ Step 6: Finalize Django Setup
# Run migrations
docker compose exec web \
  python manage.py migrate --settings=project.settings_prod

# Collect static files
docker compose exec web \
  python manage.py collectstatic --noinput --settings=project.settings_prod

# Create a superuser if needed
docker compose exec web \
  python manage.py createsuperuser --settings=project.settings_prod
✅ Step 7: Verify Production Is Working
- Visit
https://your-domain.com:PORT - Log into the Django admin.
- Check static files and media files display correctly.
💡 Bonus: Ensure Auto-Restart on Reboot
Add restart: unless-stopped to all your Docker services in production:
services:
  web:
    restart: unless-stopped
  db:
    restart: unless-stopped
  nginx:
    restart: unless-stopped
This completes your clean, repeatable production deployment process using Docker and Django. Back up your dump file and media folder regularly, and you'll have an easy path to rebuild or scale your site anytime.